4.7m (15ft) Boat Trailer
Lights & Wiring
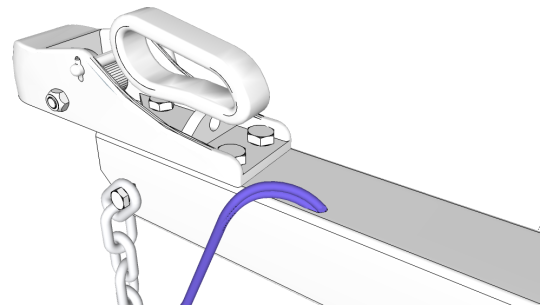
Thread the pull wire into the cable hole drilled in the drawbar and feed it up to the coupling end of the drawbar. Again carefully pull the cable through the drawbar.
Once through, manually thread the cable up and out of the slotted hole in the top of the drawbar.
Repeat the process with the other light cable.
Use grommets where possible to prevent chafing and damage to the cable insulation coating. If grommets are not available, use a good quality neutral cure silicon caulk around the hole and cable(s).
Bind the two cables together with insulation tape where they exit the drawbar and slide a heat shrink tube or flexible conduit over the cables to enhance its protection.
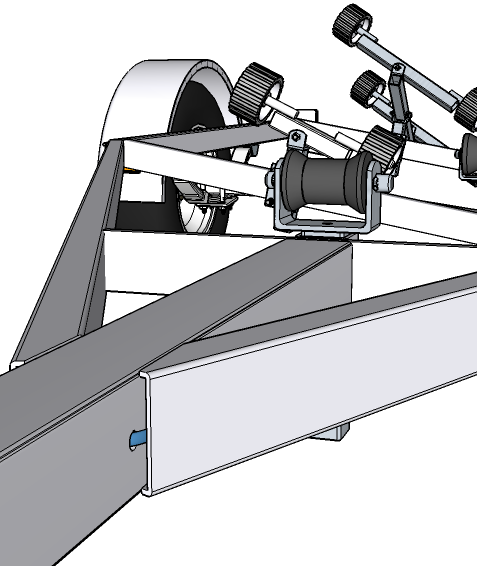
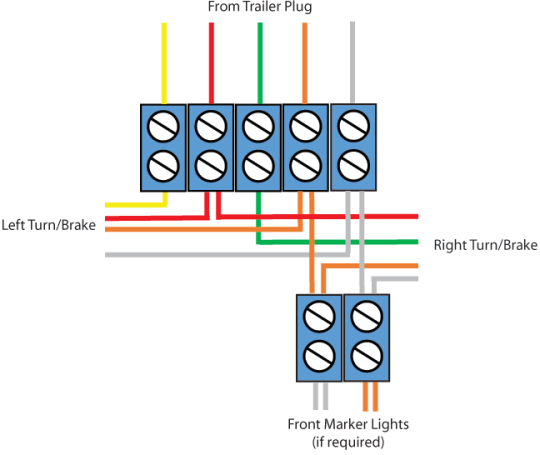
If side marker lamps are required, drill a hole in the top of the rear chassis rail just behind the front of the guard to allow 2 core cable to be routed from the hole, up the chassis rails and drawbar as per the rear lights. Most side marker LED lights are prewired to make life a little easier.
Test the lights and when everything is working correctly, mount the lights to the trailer.